April 13, 2018
Taking Classroom Community Projects Even Further
Follow these eight steps to build investment and impact in your classroom’s community projects.
Often, students have little say in which projects they get to work on — whether it’s project-based learning or a community service project. We get it; it’s out of convenience.
Maybe we have a free, sad, and empty plot in the school garden waiting for us to plant some life back into it. So that’s what we are going to do. But if there’s not a clear-cut task waiting in the wings, how might we take our community projects even further?
Start by letting students truly decide on the project. Whether it’s collectively as a class or in small groups, let them choose. It will build investment and create a more meaningful impact.
1. Starting point.
Ask: What problems would you like to solve at school or in your neighborhood? Students can begin by listing several challenges they would like to address.
2. Choose a problem.
Have students share their challenges with their peers. Students should then be grouped with other students who listed similar problems. Then, they can collectively decide which challenge(s) they would like to attack.
3. Reframe the problem.
Let’s turn these challenges into opportunities. Instead of keeping a list of problems, have students reframe them into a question. Try this using “how might we” statements, which will transform problems into opportunities for solutions. Need an example?
Problem: Students aren’t recycling.
Reframe the problem: How might we get more students to recycle?
4. Brainstorm for solutions.
Encourage out-of-the-box ideas — none are too big or too small. Perhaps make it a bit more exciting by turning it into a mini competition. Who can write the most solutions in under five minutes? Give students an opportunity to list as many solutions as possible. You are looking for quantity in this case and not necessarily quality.
5. Choose a solution.
Have students share and compare solutions with their peer group members. Too many to choose? Have students group their solutions into similar categories. As a group, students will select which idea they would like to pursue.
6. Design and create.
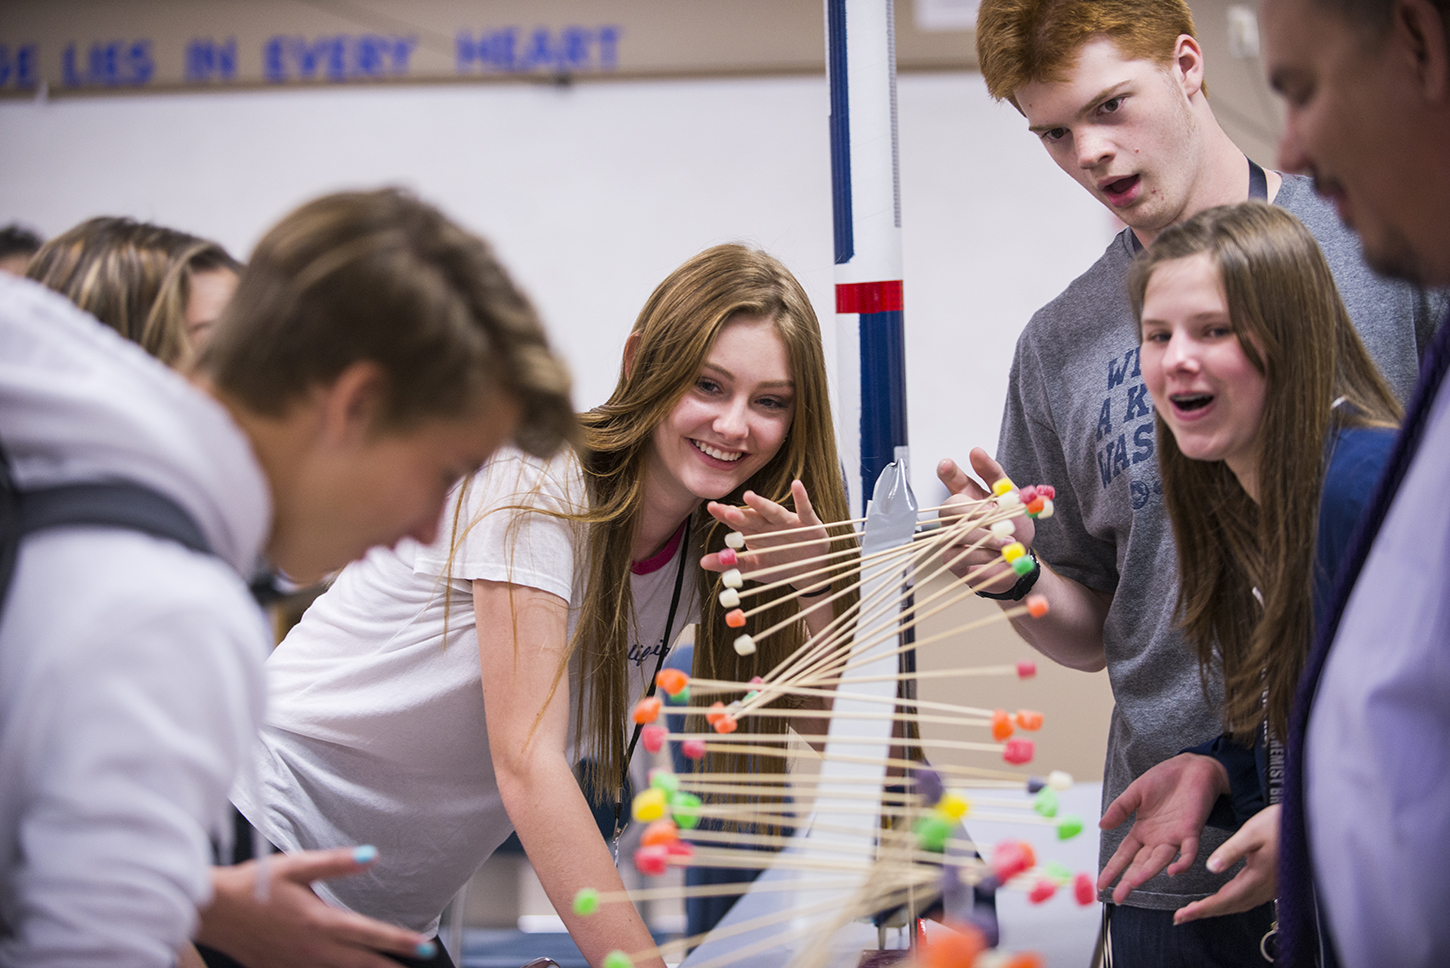
Have students create visual representations of their solution. They can start by drawing what that looks like in action. Students should aim to create multiple representations of their solutions by using any spare materials like cardboard, Play-Doh, tape, etc. It won’t look perfect at first, but that’s OK. Once they decide which design they like best, it’s time to make. Disclaimer: Adult assistance required for some projects.
7. Share ideas.
Give students a platform to share their journey. This could be a formal or informal showcase — maybe a science fair type gallery or pitch competition. Students should include the problem and solution in their presentations.
8. Seek feedback.
Students should seek feedback from others to help improve their solution. This is a great opportunity for individuals to conduct research using surveys or interviews.
